
WABASH TAX SERVICE
812-234-6388 or 812-533-5400
Wabash Avenue
West Terre Haute
This will help guide you through the basics of scanning in a document. This assumes you have Windows XP or greater and a scanner connected to your computer.
Step 1.
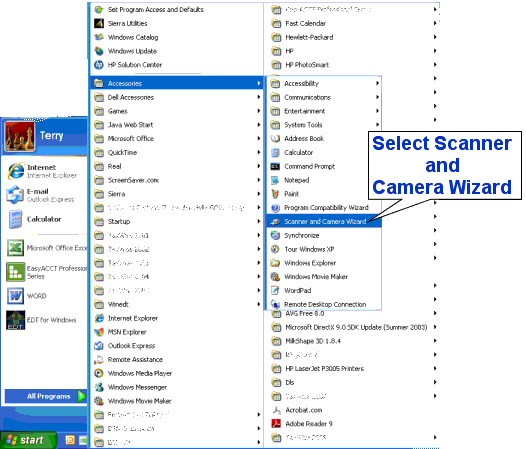
Navigate the Start menu All Programs->Accessories->Scanner & Camera Wizard. This will open the Scanner & Camera Wizard.
Step 2.
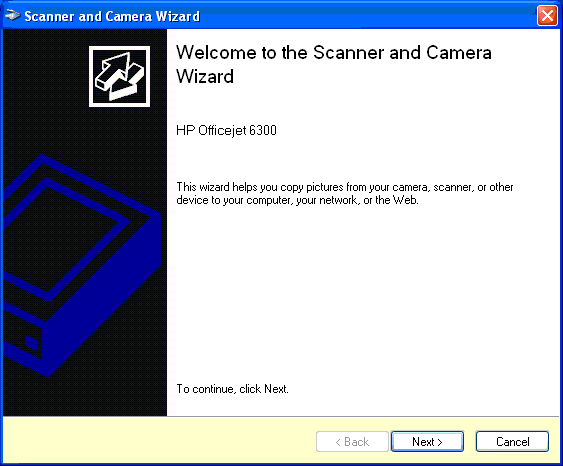
Click Next to begin.
Step 3.
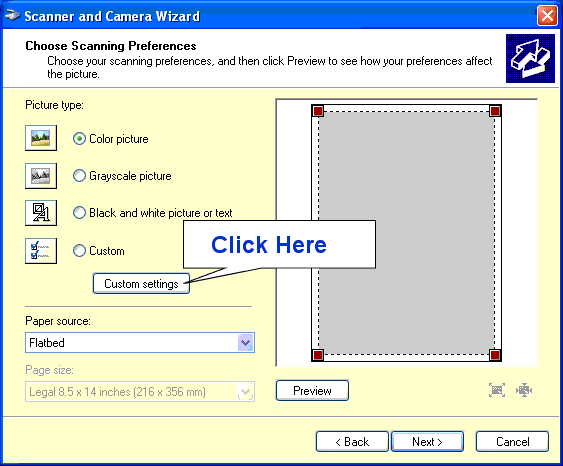
At this point, place as many documents on the scanner as you fit, W-2's, ID's SS cards. Now click the Custom Settings button. This will open The Properties window.
Step 4.
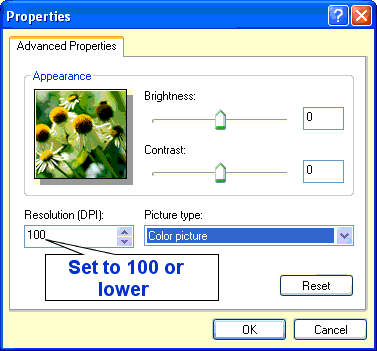
Set the resolution to 100. You may wish to set the type to Black and white if needed but this should not be nessisary. Click OK to close this window and then click Next.
Step 5.
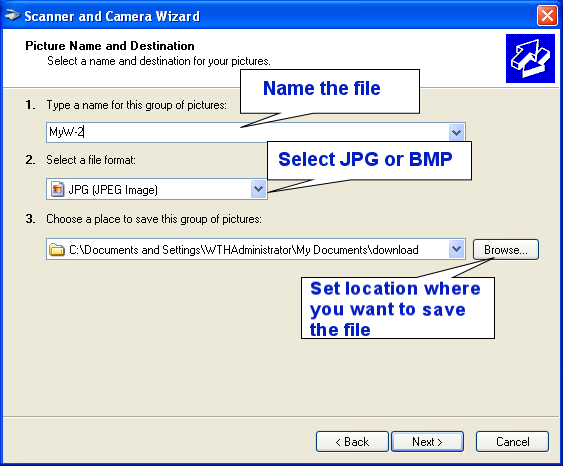
From here you will give the scanned document a Name, set the file type, and brouse for the location you wish to save the file at. Once you have done this click the next button to begin scan. note: the JPG file type has better compresion than a BMP and usualy saves as a smaller file.
Repeat steps 1 through 5 for additional documents. You will be allowed 4 file uploads on the information form.